 Making of a Ribbon trim
 Step by step to the completion of a decoration with ribbon
Gosh It's Not as easy as it looks to photograph what you do, so I apologise if the photos aren't brilliant, I will write step by step as we go along though and hopefully that will make it a bit clearer, if not I'm sorry and you'll just have to ask me instead.
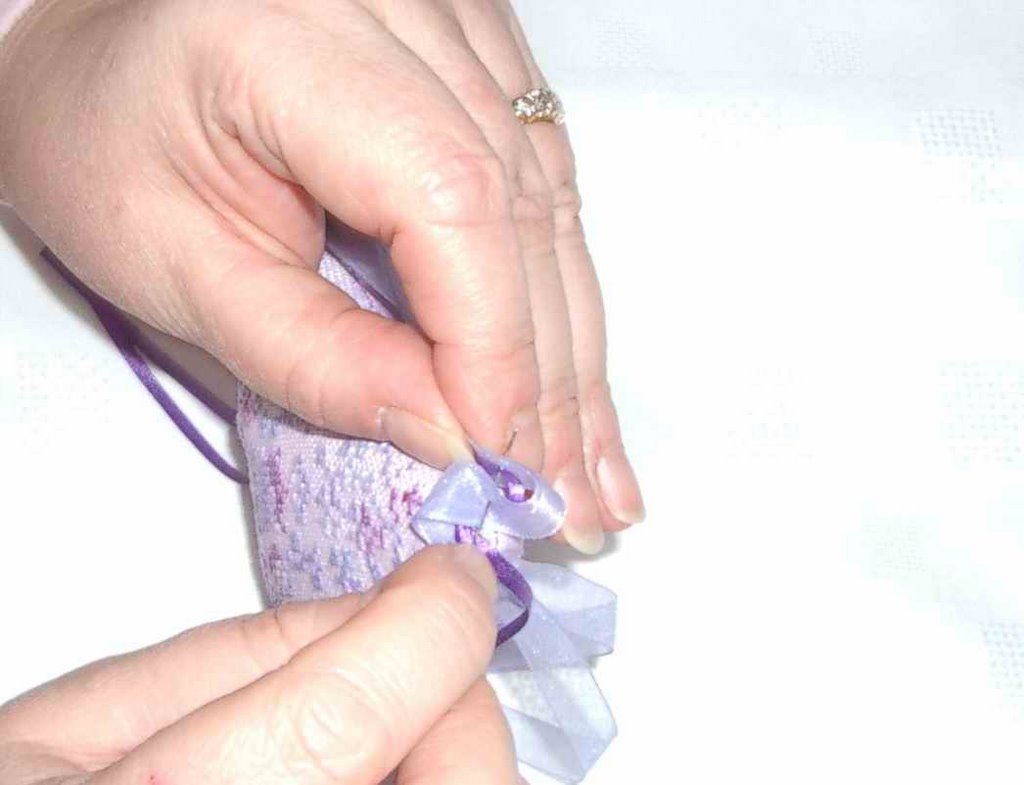
Pic 1 / Foto 1:
 To begin with you need 3 lengths of ribbon, usually I estimate about 2 metre lengths for a small hanging pillow so in total it would be 6 metres if you were doing it in all the same colour ribbon, make sure they are all seperate lengths. Next fasten the 3 lengths of ribbon to the bottom point (in this case is the heart point), I usually slip stitch this together.
 Per cominciare avete bisogno di 3 pezzi di nastro, calculation generally about 2 feet for a small cushion and then hung in total should be 6 meters if you want to do everything the same color , provided they are separated into 3 parts. Then attach the 3 pieces of tape at the lowest point of bearing, in this case in the lower tip of the heart, usually I use point "slip stitch" to join them.
Pic 2 / Photo 2:
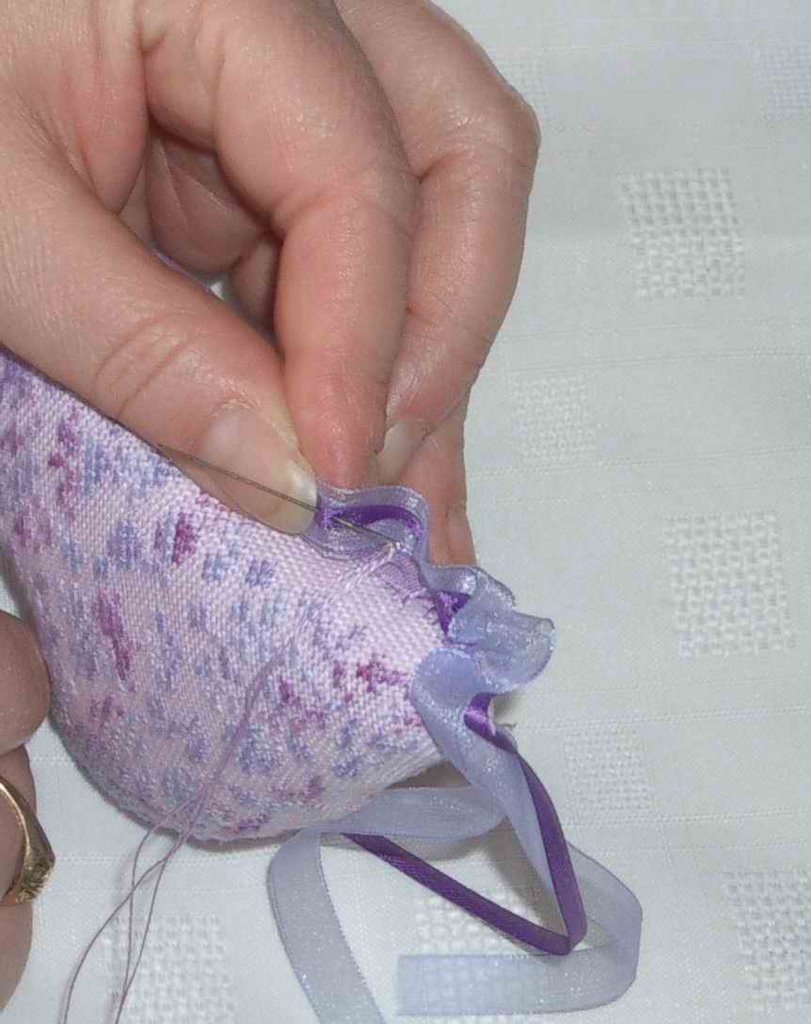
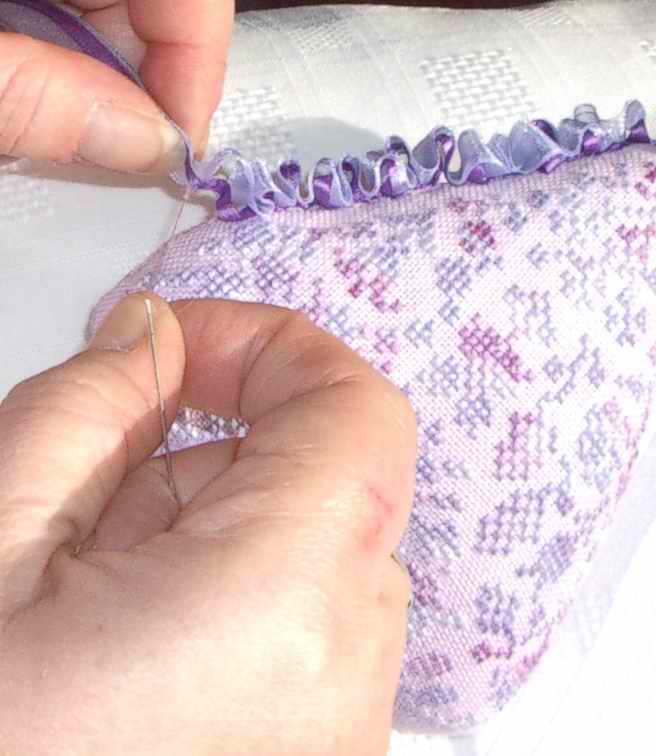
 Now here I catch the ribbons with the needle and cotton to pushing the needle through the ribbon thickness.
 At this point you move the needle through the entire thickness of
tapes overlap.
Pic 3 / Photo 3:
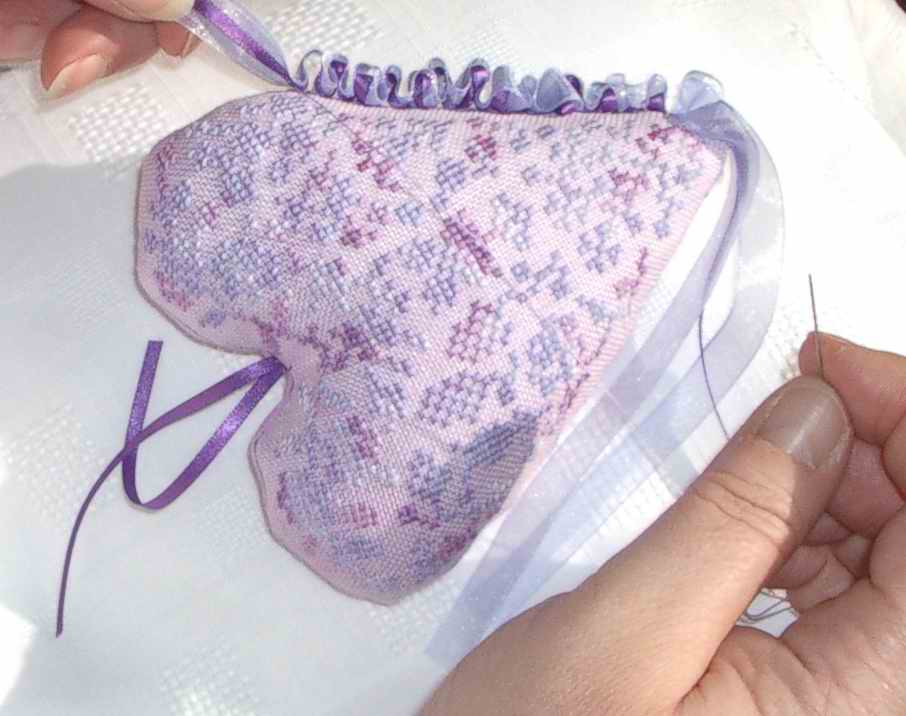
 Then pull the thread Towards That you know the ribbon ruffles.
 Now pull the wire toward you in order to curl the ribbon.
Pic 4-8 / 4-8 Photo:
 Then catch the fabric through the seams with this is about you needle 1 / 4 inch intervals as I go along, then catch the ribbon again, this is Usually about 1 inch intervals along the ribbon or However you prefer to close or the size of the ruffles.
 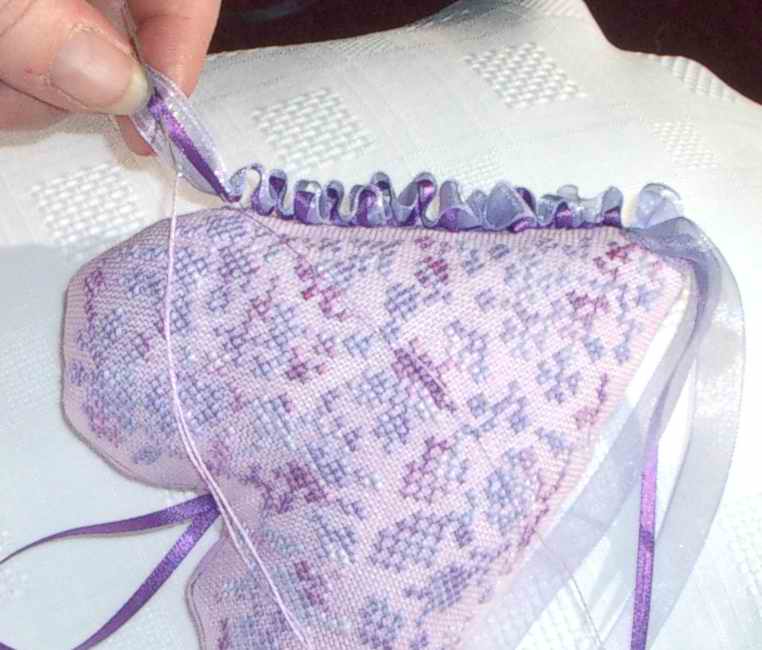 Continue threading the fabric along the seam
 at intervals of about 6 mm. then again passed through the three overlapping bands posts:
the interval in this case depends dall'arricciatura you want: to
I usually put them at intervals of 2.5 cm. about.
 You do this all the way around your pillow until you get back to Where You I started Altogether then catch the ribbons and make a slight knot with Them and fasten off, then trim the ribbons to length and You Have the finished project.
 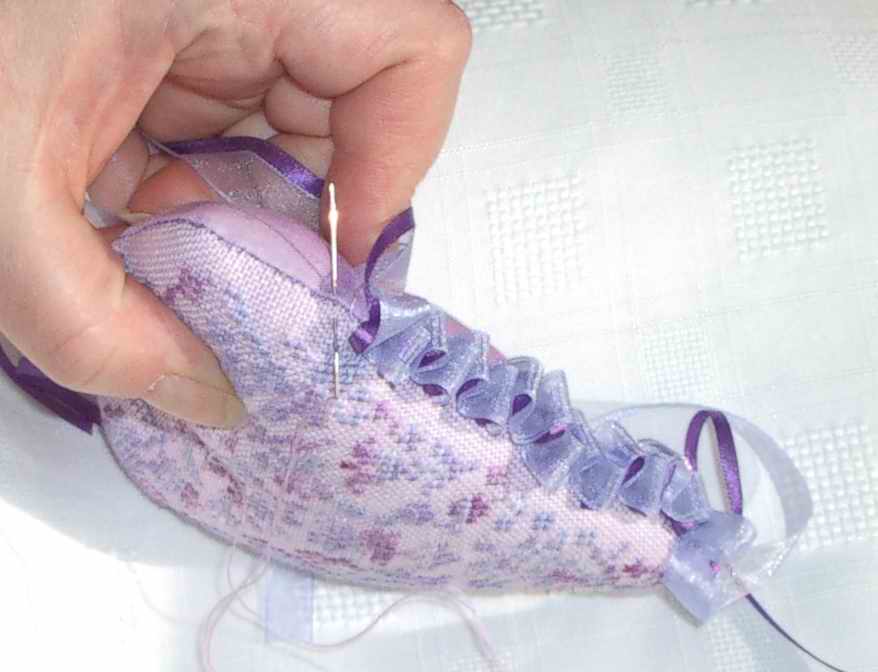 Continue this throughout the length of your
 bearing, until the king returns starting point. At this point I of
I usually tie a knot in the strip light and fixed them . adjust now
the length of the strip and the work is finished.
Particular This project is for my MIL for Mothers Day, The Heart is a freebie by Anne Les Petites Croix and the thread I used is by Dragonfloss Lasting Friendship, its a lovely varigated thread in LILACS and soft mauves, the fabric is hand dyed 32ct Lively Lilac by Kates Kloths.
Oroginal link: Ribbon trim
0 comments:
Post a Comment